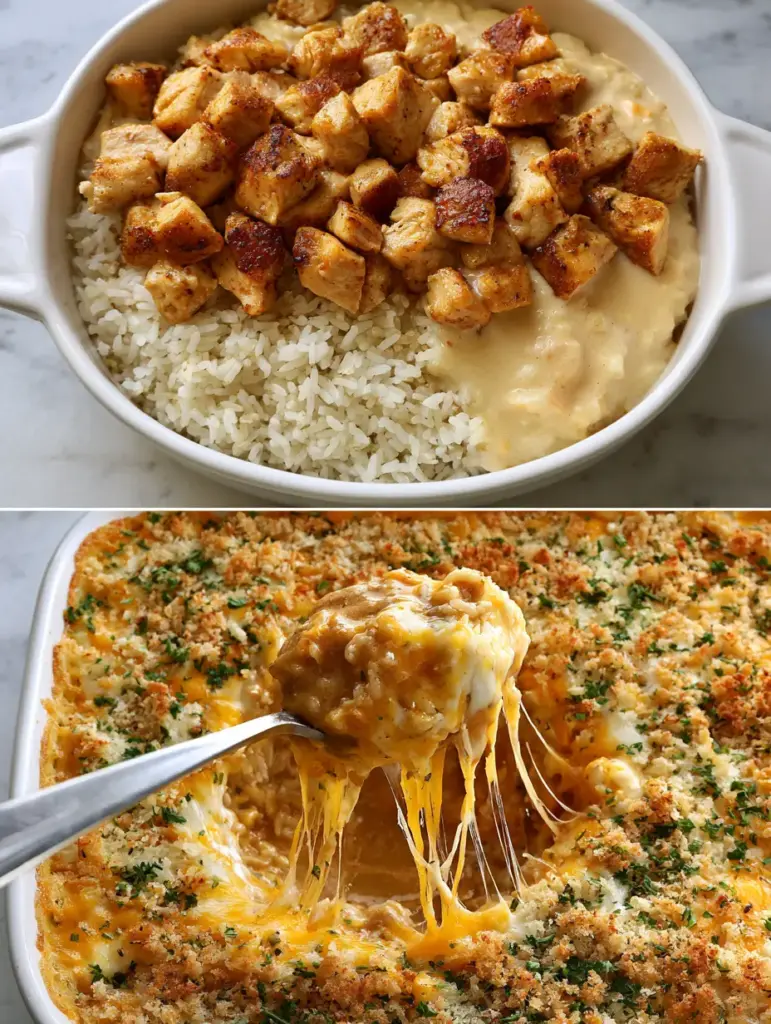
There is something fundamentally soul-warming about a classic chicken casserole, but many versions fall short, offering mushy textures and muted flavors. This gourmet rendition redefines the category by focusing on technical precision: think seared, succulent chicken breast and a dual-cheese pull that stretches for miles. Captured in the soft glow of morning light, this dish looks as incredible on your marble countertop as it tastes on your fork.
Our chicken casserole isn’t just a “dump and bake” meal; it is a carefully layered masterpiece of textures. From the “velvety cream of chicken sauce” to the “butter-toasted panko breadcrumbs,” every element is designed to provide a high-end dining experience at home. Whether you are prepping for a busy week or hosting a cozy Sunday dinner, this recipe delivers professional results with every steaming spoonful.
Why This Gourmet Chicken Casserole Strategy Outperforms Traditional Recipes
- The Maillard Advantage: Unlike standard recipes that boil chicken in sauce, we sear the chicken breast cubes until they reach a deep, golden-brown crust. This adds an essential savory depth that permeates the entire dish.
- Dual-Cheese Dynamics: By combining sharp cheddar for tang and mozzarella for that iconic “long cheese string” stretch, we create a complex flavor profile and superior meltability.
- The Panko Crunch Factor: We don’t just sprinkle breadcrumbs; we toast them in butter first to ensure a “heavy, even crust” that remains crisp even against the glossy, rich sauce.
- Perfectly Fluffy Grains: Using long-grain white rice ensures that every grain remains distinct and fluffy, preventing the dreaded “mushy casserole” texture.
Essential Components for the Ultimate Flavor Profile
Chicken Breast (1.5 lbs / 680g): Lean, high-quality protein cubed into bite-sized pieces. Searing these first locks in moisture and creates a visually stunning golden exterior.
Long-Grain White Rice (1.5 cups / 300g): This specific grain variety is crucial for a non-clumpy texture. It absorbs the velvety sauce while maintaining its structural integrity during the bake.
Cream of Chicken Sauce (2 cans / 10.5 oz (298g) each): This serves as our “glossy, rich sauce” base. It provides the silkiness needed to bind the rice and chicken into a cohesive comfort meal.
Sharp Cheddar Cheese (1.5 cups / 170g): Freshly grated sharp cheddar provides a bold, acidic punch that cuts through the richness of the cream sauce.
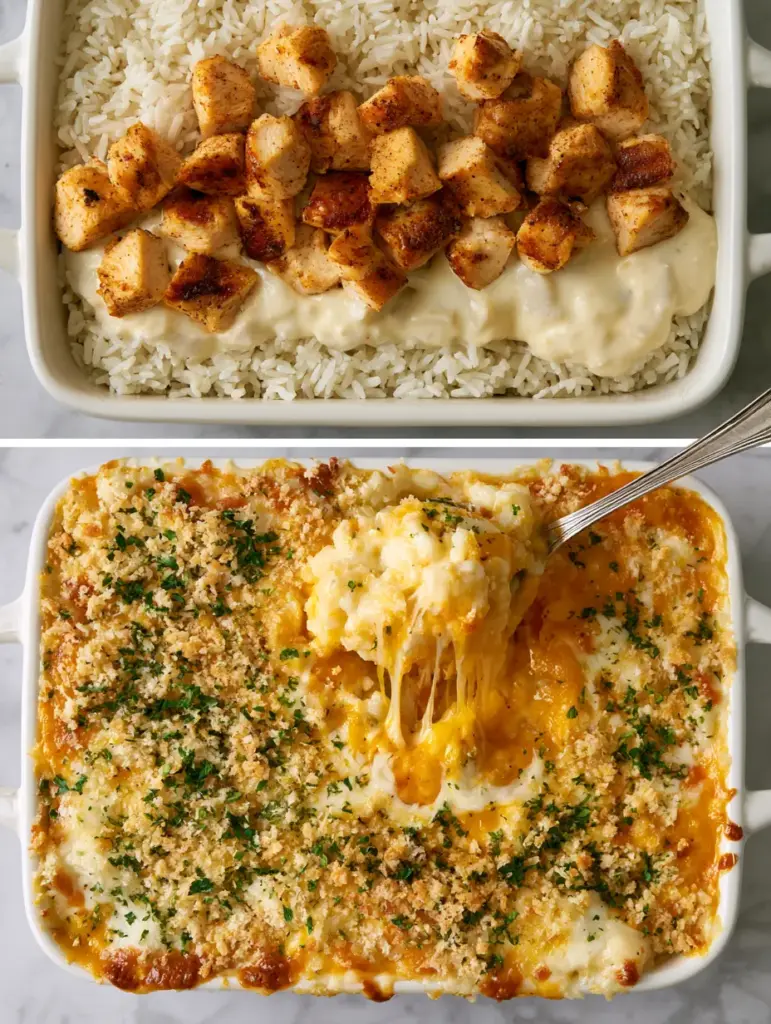
Low-Moisture Mozzarella (1.5 cups / 170g): This is the secret to the “long strings of melted cheese” seen in our professional visual blueprint. It provides the ultimate elasticity.
Panko Breadcrumbs (1 cup / 60g): These Japanese-style crumbs are larger and airier than traditional crumbs, creating that signature “heavy crust” when toasted.
Unsalted Butter (4 tbsp / 56g): Used both for searing the chicken and for browning the panko. It adds a nutty, rich aroma that oil simply cannot replicate.
Fresh Parsley & Cracked Black Pepper: Finely minced parsley adds a pop of vibrant green and a fresh finish, while the pepper provides a subtle, earthy heat.
Professional Tools for Casserole Perfection
To achieve the “high-angle split-screen” quality of our gourmet bake, you will need a high-quality white ceramic baking dish (9×13 inch). This ensures even heat distribution and a beautiful table presentation. For the searing phase, a heavy-bottomed stainless steel pot or skillet is vital for achieving that specific golden-brown sear on the chicken breast.
You will also need a fine-mesh strainer to rinse your rice—a non-negotiable step for fluffiness—and a sharp chef’s knife for achieving that “finely minced” parsley texture. A silver serving spoon is the finishing touch for capturing that perfect “steaming portion” lift.
Mastering the Sear: Step-by-Step Culinary Execution
Phase 1: Achieving the Golden-Brown Chicken Foundation
Pat your chicken cubes dry with paper towels; moisture is the enemy of the sear. Season liberally with salt and cracked black pepper. In your skillet, melt 2 tbsp (28g) of butter over medium-high heat until the foaming subsides.
Add the chicken in a single layer, ensuring you don’t crowd the pan. Sear until a deep “golden-brown” crust forms on at least two sides. The chicken doesn’t need to be cooked through yet; the goal here is the visual and flavor development of the Maillard reaction.
Phase 2: Preparing the Fluffy Rice and Velvety Sauce
While the chicken sears, rinse your long-grain rice under cold water until the water runs clear. This removes excess surface starch. Cook the rice in chicken broth (instead of water) until just al dente, as it will continue to soften in the oven.
In a large mixing bowl, whisk together the cream of chicken sauce with 1/2 cup (120ml) of whole milk or broth. This creates the “velvety, glossy” consistency that characterizes a high-end chicken casserole. Fold in the seared chicken and the fluffy rice.
Phase 3: The Assembly and Cheese Layering
Transfer the chicken and rice mixture into your white ceramic baking dish. Level the top with a spatula to ensure even cooking. Now, create the “bubbling layer” by mixing the shredded cheddar and mozzarella together.
Spread the cheese blend edge-to-edge. This ensures that every bite contains those “long strings of melted cheese.” The mozzarella acts as the glue, while the cheddar provides the flavor profile.
Phase 4: The Butter-Toasted Panko Finish
In a small skillet, melt the remaining 2 tbsp (28g) of butter. Add the panko breadcrumbs and toss constantly over medium heat. Watch for a “sandy, golden-tan” color change and a nutty aroma.
Top the cheese layer with this “heavy, even crust” of toasted panko. This pre-toasting step is the secret to a casserole that stays crunchy even after 30 minutes in the oven. Bake at 375°F (190°C) until the cheese is bubbling at the edges and the panko is a rich bronze.
Expert Tips for Casserole Excellence
- Grate Your Own Cheese: Pre-shredded cheeses are coated in potato starch to prevent clumping, which inhibits the “glossy, rich” melt we are looking for.
- Temper the Sauce: Ensure your cream sauce is at room temperature before mixing to prevent the fats from breaking, maintaining that “velvety” texture.
- The Parsley Garnish: Only add the “finely minced fresh parsley” after the dish comes out of the oven. This preserves the bright green color and fresh enzyme flavor.
- Rest Before Serving: Allow the casserole to sit for 5-10 minutes. This allows the sauce to “set,” ensuring your portion lift reveals a “thick, velvety” sauce rather than a runny one.
Storage and Reheating Protocols
This chicken casserole stores beautifully in the refrigerator for up to 4 days when sealed in an airtight container. To maintain the “butter-toasted panko” crunch, we recommend reheating in the oven at 350°F (175°C) rather than the microwave.
If you choose to freeze this dish, do so before the final baking step. Thaw completely in the refrigerator overnight before baking to ensure the rice doesn’t become mushy and the chicken remains succulent.
What to Pair with This Gourmet Casserole
Because this dish is rich and decadent, it pairs perfectly with light, acidic side dishes. A crisp green salad topped with fresh pico de gallo provides a refreshing contrast to the creamy sauce.
If you enjoy themed dinner nights, you might consider alternating this comfort classic with other family favorites like a zesty taco casserole or sizzling chicken fajitas. For those who love efficient meal planning, these quick recipes offer similar satisfaction with minimal cleanup.
Common Questions About Chicken and Rice Bakes
Absolutely. You can assemble the chicken, rice, and sauce up to 24 hours in advance. Add the cheese and toasted panko just before you put it in the oven for maximum freshness.
Yes, but you must pre-cook the brown rice fully before adding it to the casserole, as its higher fiber content requires much more liquid and time than the baking process provides.
The key is rinsing your rice to remove excess starch and searing the chicken separately to maintain its texture. Also, avoid adding too much extra liquid to the cream sauce.
Reheat in a 350°F (175°C) oven covered with foil for 15 minutes, then uncovered for 5 minutes to restore the panko crunch. The microwave is faster but will soften the crust.
Pre-toasting in butter ensures the breadcrumbs are crisp and flavorful. If added raw, they often soak up moisture from the sauce and become soggy during the bake.
The Ultimate Golden-Brown Chicken Casserole Recipe
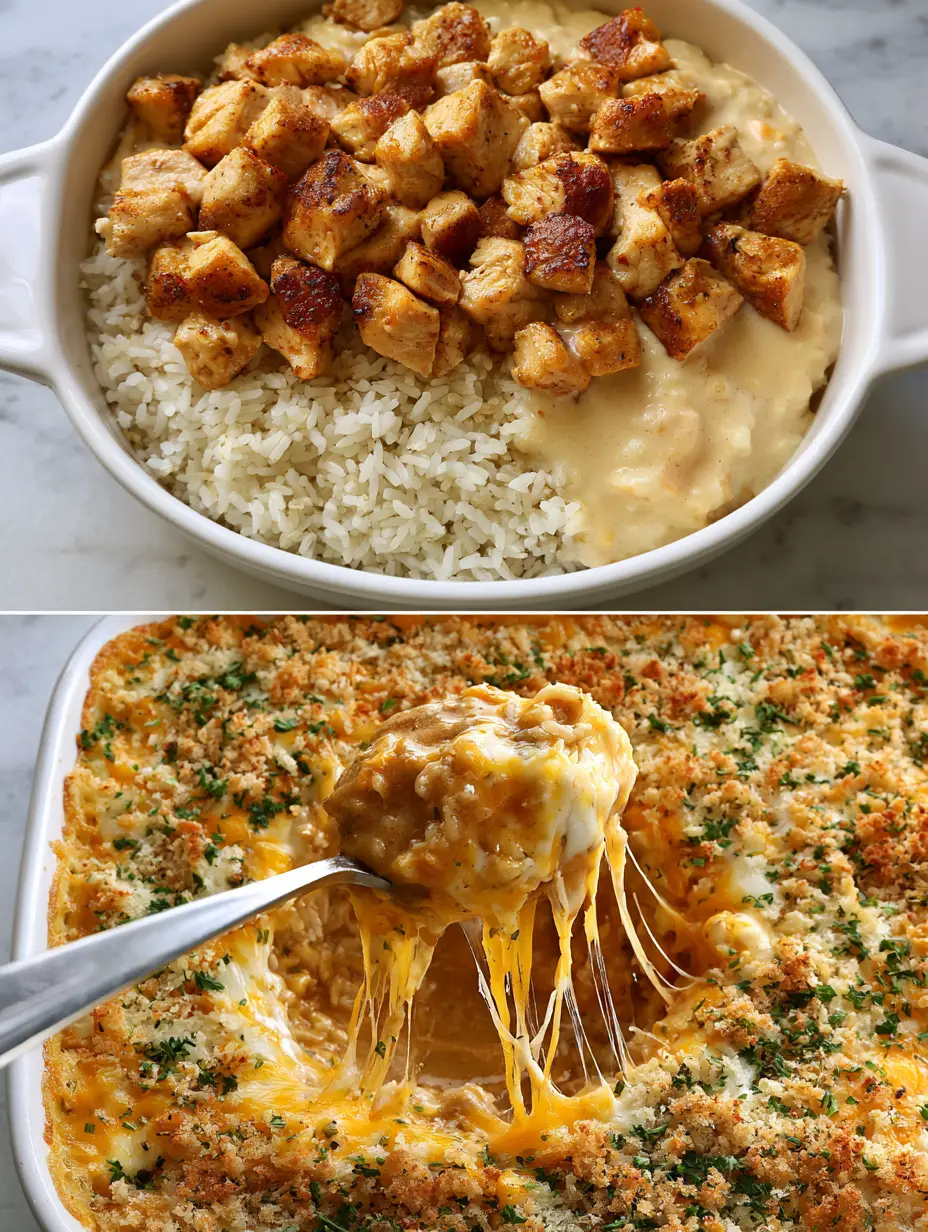
Chicken Casserole with Golden Searing and Toasted Panko Crust
Ingredients
Equipment
Method
- Season chicken cubes with salt and pepper. Melt 2 tbsp (28g) butter in a skillet over medium-high heat. Sear chicken until golden-brown and visual crust forms. Remove and set aside.
- Rinse 1.5 cups (300g) rice until water is clear. Cook until al dente in chicken broth.
- Whisk cream of chicken soup and milk (120ml) until velvety and glossy. Fold in rice and seared chicken.
- Spread mixture into a 9x13 ceramic dish. Top with mixed cheddar and mozzarella cheese (170g each).
- Melt remaining 2 tbsp (28g) butter in a pan. Toast panko (60g) until golden and fragrant. Sprinkle evenly over cheese layer.
- Bake at 375°F (190°C) for 25-30 minutes until cheese is bubbling. Garnish with minced parsley and black pepper before serving.
Notes
Toast the panko separately to ensure it stays crunchy.
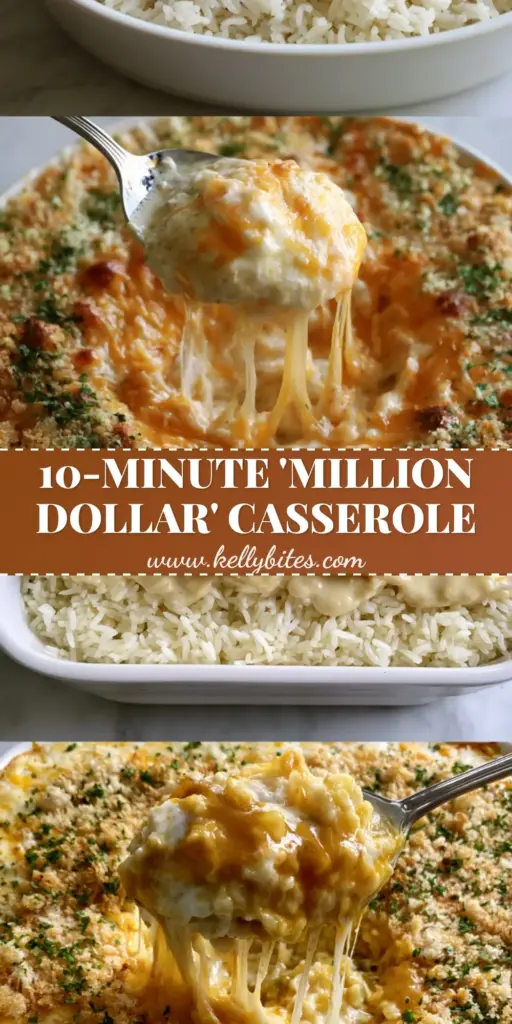
Closing Thoughts on This Comfort Classic
Elevating a humble chicken casserole into a gourmet experience is all about the details—the sear on the chicken, the quality of the cheese, and the crunch of the panko. This recipe offers a reliable, delicious result that will have your family asking for seconds. If you enjoyed this “smartphone-photo” style realistic bake, please leave a comment below and share your results! Don’t forget to follow our Pinterest for more culinary inspiration.