There is a specific kind of culinary magic that happens when a professional-grade stainless steel pot or skillet reaches the perfect temperature. You might have seen it in high-end kitchens: spherical water droplets dancing across a shimmering silver surface like liquid mercury. This isn’t just a visual trick; it is the Leidenfrost effect in action, signaling that your pan is ready for the most difficult task in the kitchen—the non-stick egg.
Achieving a gourmet sunny-side-up egg with a vibrant, bulging orange yolk and delicate, crispy golden-brown “lace” edges requires more than just a recipe. It requires an understanding of thermodynamics and the unique properties of tri-ply cookware. When you master the stainless steel pot, you move beyond the limitations of disposable non-stick coatings and enter the realm of professional searing.
In this guide, we will break down the exact forensic steps to recreate the stunning visual of a perfect egg sliding effortlessly across polished metal. Whether you are preparing a quick breakfast or looking for the perfect topper for classic huevos rancheros, this technique is a foundational skill every home cook needs.
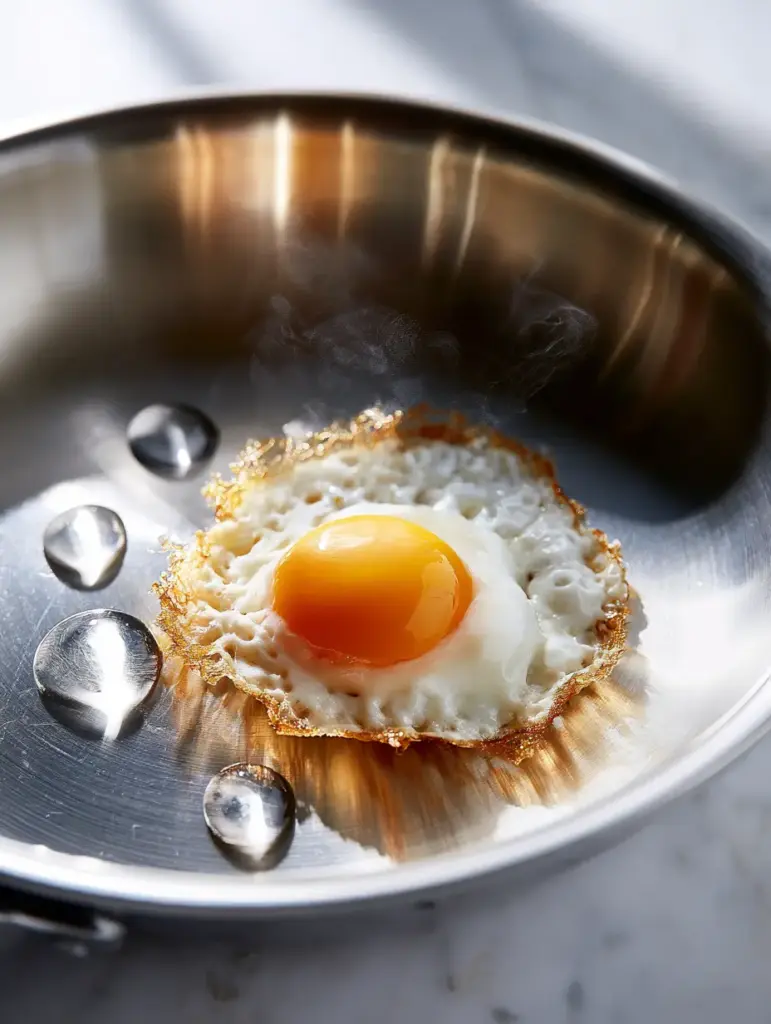
The Science of Why Your Stainless Steel Pot is Secretly a Non-Stick Powerhouse
Many home cooks fear the stainless steel pot because they believe food is destined to stick to it. However, the microscopic “pores” of the metal are the culprit, not the material itself. When cold, these pores are open; as the metal heats, they expand and contract, eventually smoothing out to create a surface that, when paired with the right fat, becomes virtually frictionless.
The “mercury ball” water test is your diagnostic tool. By flicking a few drops of water into the pan, you can visually confirm if the surface has reached the state where the moisture evaporates so quickly it creates a cushion of steam for the droplet to ride on. This is the exact moment to add your oil and your egg to ensure that beautiful, sliding motion.
What Makes the Perfect Gourmet Fried Egg?
- The Leidenfrost Foundation: Using a high-end, polished tri-ply stainless steel pot to ensure even heat distribution without hot spots.
- The Golden Lace: Achieving “frizzled” or laced edges by using a combination of high-smoke point oil and precise temperature control.
- The Vibrant Yolk: Sourcing pasture-raised eggs to ensure a bulging, deep orange center that provides a rich, silky sauce for the dish.
- The Effortless Slide: A visual confirmation that the egg white has proteins that have properly denatured and released from the metal surface.
Essential Components for a Shimmering Skillet Egg
1 Large (50g) Pasture-Raised Egg: The quality of the egg matters for the visual; look for eggs with a sturdy, bulging yolk that won’t break upon contact with the stainless steel pot. Fresh eggs have thicker whites, which helps maintain that perfect circular shape.
1.5 tbsp (22ml) Extra Virgin Olive Oil or Avocado Oil: This is the “invisible” foundational ingredient. You need enough fat to pool slightly at the edges of the egg to create the bubbling, crispy lace texture seen in professional food styling.
1/2 tsp (2.5g) Unsalted Butter: While oil provides the heat resistance for the lace, butter adds the final shimmer and a nutty flavor profile that complements the rich yolk. It also acts as a visual cue; once the butter stops foaming, the temperature is perfect.
A Pinch of Flaky Sea Salt and Cracked Black Pepper: These are essential for breaking up the light reflections on the yolk and adding a necessary textural contrast to the soft egg white.
2 tbsp (30ml) Filtered Water: Not for the recipe itself, but for the “mercury test” to calibrate your stainless steel pot surface before the cooking begins.
The Pro-Level Tool Kit for Heat Mastery
To achieve the micro-steam wisps and the liquid mercury water droplets, your equipment must be up to the task. A high-end, polished tri-ply or 5-ply stainless steel pot or skillet is non-negotiable. The aluminum or copper core provides the conductivity, while the polished steel exterior provides the necessary surface tension.
You will also need a thin metal fish spatula. While the egg should slide effortlessly, a thin spatula allows you to check the “lace” edges without disturbing the delicate structure of the yolk. Soft, natural morning daylight is the best “equipment” for checking your progress, as it highlights the reflections on the brushed metal and the bulging yolk.
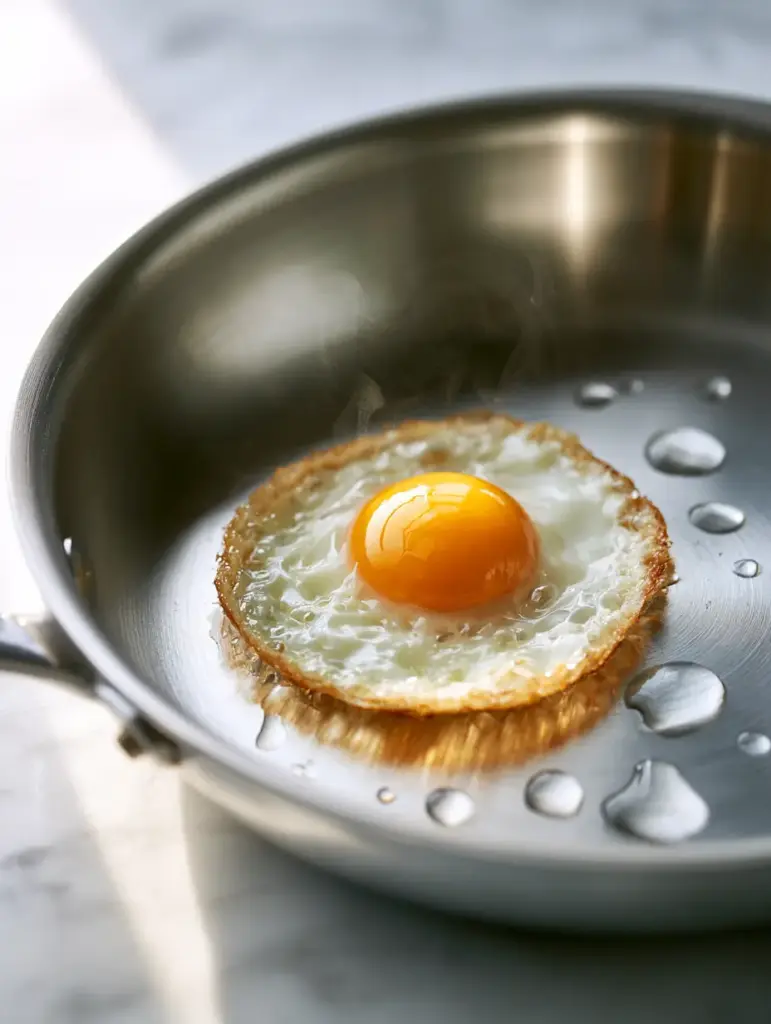
The Step-by-Step Science of the Perfect Slide
1. The Dry Heat Calibration
Place your stainless steel pot over medium heat for approximately 2-3 minutes. Do not add any oil yet. We are waiting for the metal to expand. You can sense the heat by hovering your hand 2 inches (5cm) above the surface; it should feel like a warm radiator.
2. The Liquid Mercury Water Test
Dip your fingers into the filtered water and flick a few droplets into the center of the pan. If they sizzle and evaporate instantly, the pan is too cold. If the droplets bead up into perfect spheres and dance across the shimmering silver surface like liquid mercury, you have achieved the Leidenfrost temperature.
3. The Dual-Fat Foundation
Immediately add the olive oil to the stainless steel pot. Swirl it to coat the entire bottom. Follow this with the butter. The butter will foam aggressively—this is the micro-steam you see in professional shots. Once the foam subsides but before the butter browns, you are ready for the egg.
4. The Controlled Crack and Sear
Crack the egg into a small ramekin first to ensure no shells interfere with the polished metal surface. Gently slide the egg into the center of the stainless steel pot. You should hear a distinct, sharp crackle. This sound is the sound of the lace edges forming instantly as the whites hit the hot oil.
5. The Temperature Drop for Yolk Integrity
As soon as the edges turn golden-brown and “lacy,” reduce the heat to medium-low. This protects the yolk from overcooking. You want the yolk to remain vibrant orange and runny while the whites become opaque and firm. The egg should now slide effortlessly when you gently shake the handle of the skillet.
Expert Tips for Stainless Steel Success
- Room Temperature Eggs: Take your eggs out of the fridge 15 minutes before cooking. A cold egg can cause the temperature of the stainless steel pot to drop too quickly, leading to sticking.
- The Cleanliness Factor: Ensure your skillet is polished and free of any burnt-on residue from previous meals. Even a tiny speck of carbonized food can act as an anchor for the egg whites.
- Don’t Rush the Release: If the egg feels stuck, wait 30 seconds. Proteins often “self-release” from a stainless steel pot once they have sufficiently browned and formed a crust.
- Patience with Preheating: The most common mistake is adding oil to a cold pan. Always heat the dry pan first to ensure those pores are closed.
Preserving the Perfect Texture
Fried eggs are best enjoyed immediately to appreciate the contrast between the crispy edges and the runny yolk. However, if you are making a large batch for quick weekday breakfasts, you can keep them on a warm plate covered with foil for up to 10 minutes. We do not recommend reheating sunny-side-up eggs in a microwave, as the yolk will solidify and the “lace” will become rubbery.
What to Serve With Your Gourmet Egg
A perfectly fried egg is a versatile component that elevates almost any dish. For a hearty morning meal, serve it over a deconstructed taco casserole for added richness. The runny yolk acts as a natural sauce for starches, making it a brilliant addition to a traditional carbonara if you want an extra layer of decadence.
If you prefer a lighter pairing, place the egg atop a bowl of spicy chicken tinga or use it to garnish a fresh shrimp tostada. The crispy edges provide a wonderful textural contrast to soft tortillas and creamy avocado.
Frequently Asked Questions
Butter has a lower smoke point and contains water solids. For the best ‘lace’ edges, use a high-smoke point oil first, then add a small amount of butter for flavor just before the egg.
No, stainless steel does not require permanent seasoning. Instead, it requires ‘thermal seasoning’ through proper preheating and the correct application of fats for each use.
If you follow this technique, the egg will slide out, leaving little residue. For any minor spots, deglaze the warm pan with a splash of water or use a mild abrasive like Barkeepers Friend.
It is a physical phenomenon where a liquid, in near contact with a surface significantly hotter than its boiling point, produces an insulating layer of vapor that keeps the liquid from boiling rapidly.
Eggs usually stick because the pan wasn’t properly preheated or the ‘pores’ of the metal were open. Use the Leidenfrost water test to ensure the pan is hot enough before adding oil and the egg.
The Ultimate Stainless Steel Fried Egg Recipe
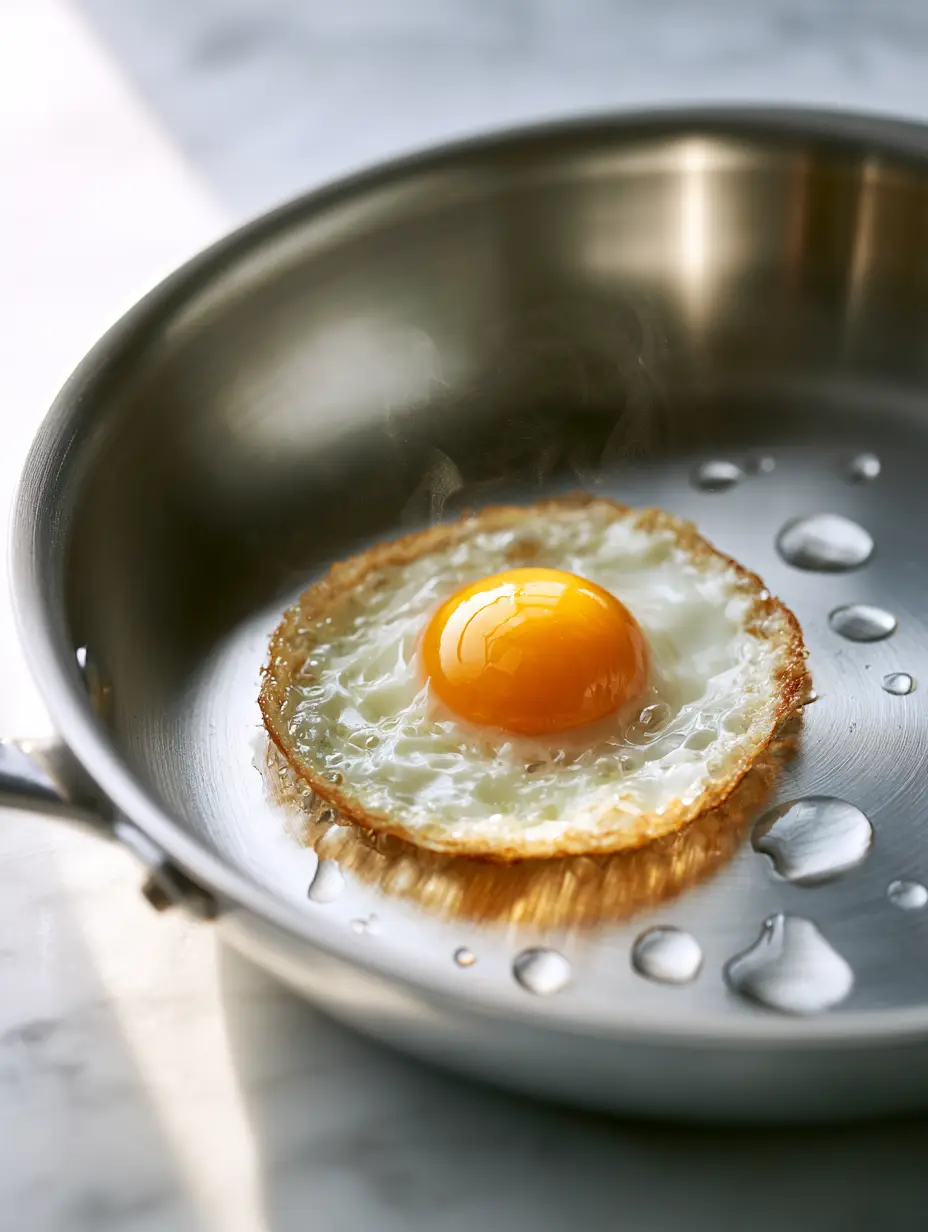
Stainless Steel Pot Mastery: The Ultimate Crispy Laced Sunny-Side-Up Egg
Ingredients
Equipment
Method
- Place the stainless steel pot over medium heat for 2-3 minutes until the metal is fully expanded.
- Flick water droplets into the pan; they should form spheres and dance like liquid mercury across the surface.
- Add olive oil and butter. Wait for the butter to finish foaming but not brown.
- Slide the egg into the pan. Cook until edges are golden-brown and lacy, then reduce heat to finish the whites while keeping the yolk runny.
Notes
If the egg sticks, wait 30 seconds for the proteins to release naturally.
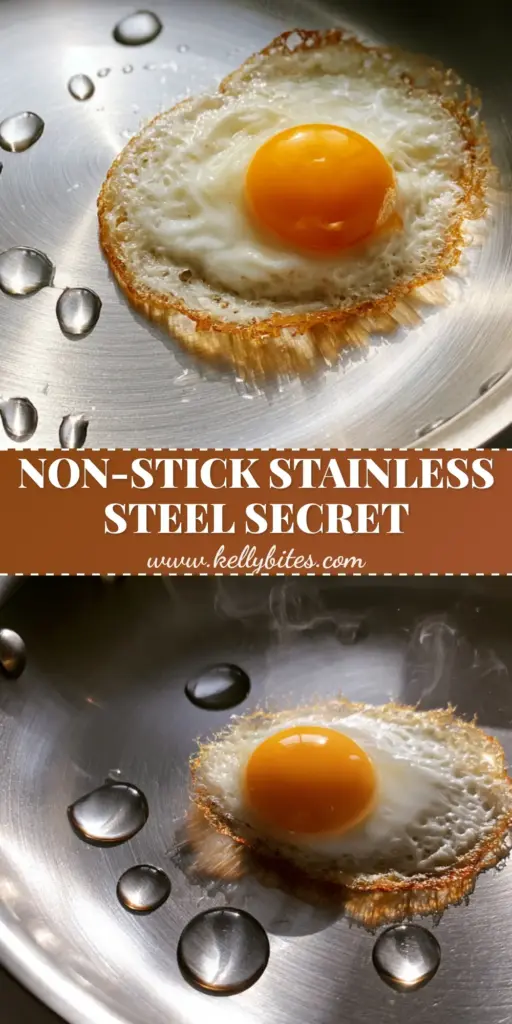
Closing & Call to Action
Mastering the stainless steel pot is a rite of passage for any serious home cook. Once you understand the relationship between heat, metal, and fat, you will never look at a non-stick pan the same way again. The result is a breakfast that looks like it belongs in a gourmet magazine—vibrant, crispy, and technically perfect.
Did you manage to get the “mercury droplets” on your first try? Let us know in the comments below! If you found this technical guide helpful, please share it with your fellow cooks and follow us on Pinterest for more culinary forensics and recipe blueprints.