There is nothing quite like the sensory explosion of a perfect taco casserole. Imagine sinking your fork into a layer of vibrant, crunchy nacho cheese chips, only to discover a molten river of sharp cheddar and Monterey Jack cheese beneath. This isn’t just a dinner; it’s a nostalgic journey back to the fairgrounds, reimagined as a sophisticated, family-style masterpiece.
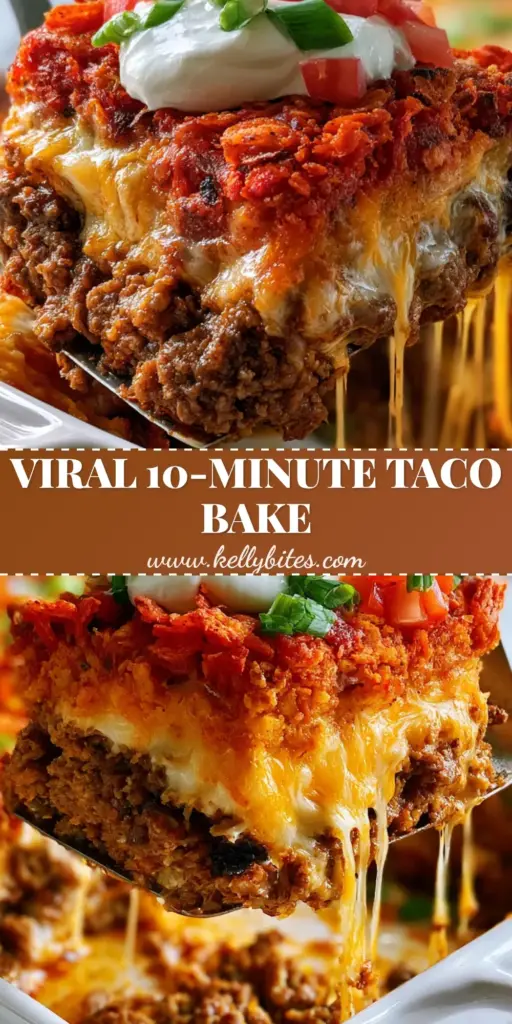
This taco casserole captures the “authentic viral social media aesthetic” with its stunning contrast of textures and colors. From the deep, savory brown of the seasoned beef to the ruby red pop of fresh Roma tomatoes, every element is designed to be as visually arresting as it is delicious. We are focusing on that elusive “walking taco” experience, where the convenience of a bag of chips meets the soul-warming comfort of a home-cooked bake.
Whether you are preparing this for a busy weeknight or a game-day gathering, the result is always the same: empty plates and requests for seconds. The secret lies in the layering, ensuring the beef stays juicy with a signature oily sheen while the top crust remains shatteringly crisp. Let’s dive into the culinary science that makes this dish a recurring favorite in every household.
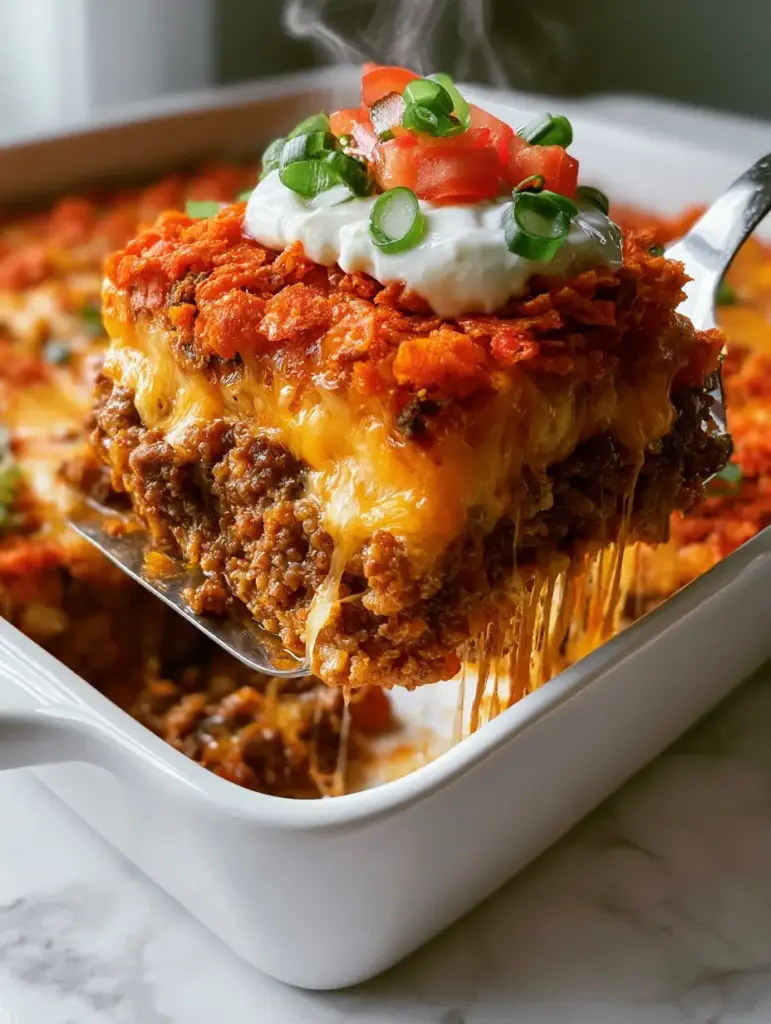
Why This Walking Taco Casserole Recipe Works
- Textural Harmony: We balance the intense crunch of crushed nacho cheese Doritos with the gooey, long-stretching cheese pulls of Monterey Jack and Sharp Cheddar.
- Flavor Depth: By searing the ground beef until a deep golden-brown crust forms, we unlock the Maillard reaction, providing a savory foundation that stands up to bold spices.
- Freshness Factor: The heat of the casserole is perfectly offset by a cooling dollop of thick sour cream and the sharp, bright bite of fresh green scallions.
- Visual Appeal: Designed to look like a handheld smartphone photo, the contrast of the white ceramic dish against the vibrant toppings makes this recipe a true showstopper.
The Foundation: Essential Ingredients for the Best Taco Casserole
Ground Beef: Use 1.5 lbs (680g) of 80/20 ground beef. This specific fat ratio ensures the beef remains moist during the baking process and provides that essential oily sheen that carries the spice flavors across your palate.
Nacho Cheese Tortilla Chips: You will need 1 large bag (approx. 9.25 oz / 262g) of nacho cheese Doritos. Crushing them slightly—but not into a powder—allows them to form a cohesive crust while maintaining their iconic crunch.
The Cheese Blend: A combination of 1 cup (113g) shredded sharp cheddar and 1 cup (113g) shredded Monterey Jack is non-negotiable. The cheddar provides the sharp “bite,” while the Monterey Jack offers the superior meltability required for those epic cheese pulls.
Aromatic Base & Seasoning: Use a high-quality taco seasoning or a blend of chili powder, cumin, garlic powder, and onion powder. Adding a splash of water (about 1/4 cup or 60ml) during the browning process creates a light sauce that binds the meat crumbles together.
Fresh Toppings: Diced Roma tomatoes provide a low-moisture “ruby red” acidity. Sliced jalapeños add a controlled heat, and freshly sliced green scallions contribute a mild onion note and a “bright green” visual pop.
Cooling Elements: A generous dollop of thick sour cream is the final touch. It acts as a culinary “reset” for your taste buds between the spicy beef and the salty chips.
Kitchen Tools for a Social Media-Ready Result
To achieve the look of the viral social media aesthetic, you will need a few specific tools. A high-quality stainless steel pot or skillet is essential for getting that deep sear on the beef crumbles without burning the spices.
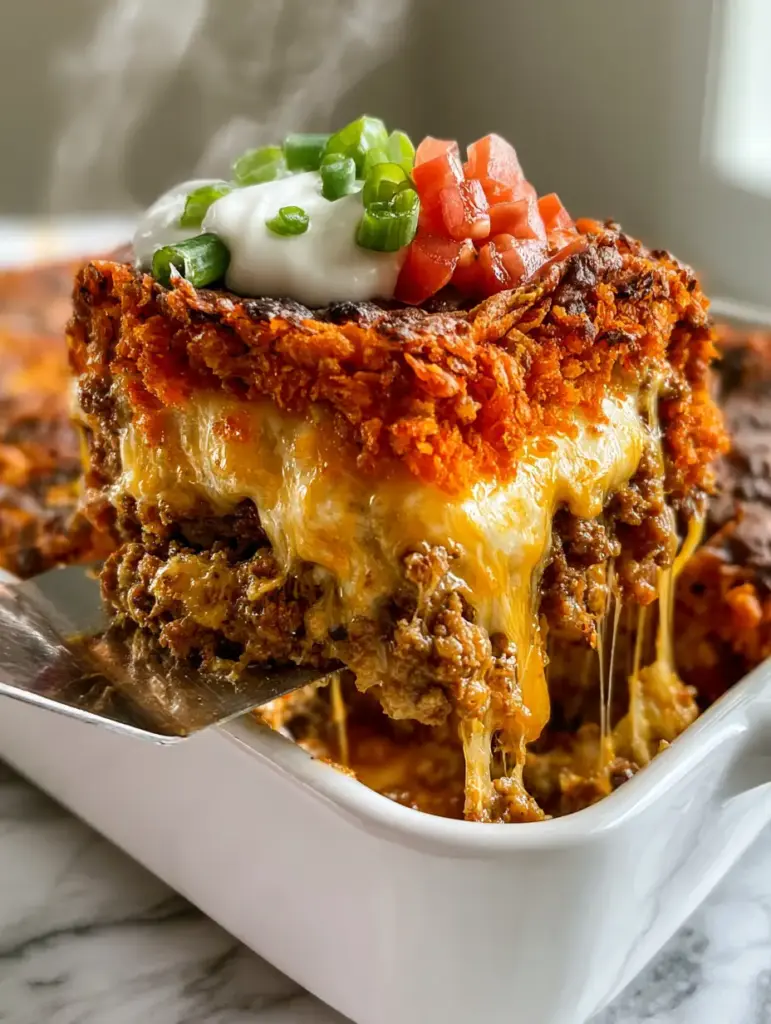
For the baking vessel, a white ceramic 9×13 inch (23x33cm) baking dish provides the clean, neutral background that makes the “vibrant red” chips and “bright green” scallions stand out. Finally, have a sturdy metal spatula ready—this is the key to lifting those large square portions and showing off the internal layers and steam.
Step-By-Step: Constructing the Layered Masterpiece
Searing the Beef to Perfection
Heat a drizzle of neutral oil in your skillet over medium-high heat. Add the ground beef crumbles, spreading them into an even layer. Let them sit undisturbed for 3-4 minutes until a deep golden-brown crust forms on the bottom.
Break the meat apart and add your taco seasoning. Pour in 1/4 cup (60ml) of water or beef broth. Stir well, allowing the liquid to emulsify with the rendered fat, creating an oily, seasoned sheen that coats every morsel of meat.
The Art of the Layer
Transfer the seasoned beef to your white ceramic dish, smoothing it into an even base layer. This serves as the thermal foundation that will help melt the cheese from the bottom up.
Generously sprinkle the mixed sharp cheddar and Monterey Jack over the beef. Ensure you cover the edges, as the cheese that touches the ceramic will turn into a delicious, crispy “frico” crust. This is what creates those long cheese pulls when the spatula lifts a portion.
The Crunchy Crown
Crush your nacho cheese Doritos by hand into bite-sized shards. Layer them thickly over the cheese. You want a “top crust of vibrant red” that is visually dense but allows some of the melting cheese to peek through the gaps.
Baking for Maximum “Gooey” Factor
Preheat your oven to 375°F (190°C). Bake the casserole for 15-20 minutes. You are looking for two specific cues: the cheese should be bubbling and visible through the chips, and the aroma of toasted corn should fill your kitchen.
Avoid over-baking, as the chips can brown too quickly. The goal is to heat the internal layers until the beef is steaming and the cheese is fully molten while preserving the chips’ structural integrity.
Expert Tips for a Non-Soggy Taco Casserole
- Drain the Fat (Mostly): While we want an oily sheen, too much liquid will turn the chips soggy. Drain off the excess rendered fat, leaving about 1 tablespoon (15ml) for flavor before adding your spices.
- Hand-Grate the Cheese: Pre-shredded cheese is coated in cellulose to prevent clumping, which inhibits the perfect “cheese pull.” Buy blocks of sharp cheddar and Monterey Jack and grate them yourself.
- The Cooling Rest: Let the casserole sit for 5 minutes after pulling it from the oven. This allows the cheese to set slightly, ensuring you get those “distinct internal layers” when you cut into it.
- Toppings Strategy: Never add the sour cream, tomatoes, or lettuce before baking. The contrast between the hot beef/chips and the “cool white sour cream” is essential for the sensory experience.
What to Serve with Your Cheesy Bake
This dish is incredibly filling on its own, but it pairs beautifully with other Tex-Mex staples. If you want to lean into the fresh side, a side of fresh pico de gallo or a crisp taco pasta salad can round out the meal.
For those looking for a broader spread, this casserole fits right in with sizzling chicken fajitas or even a light shrimp tostada. If you’re meal prepping for the week, you might also enjoy making some Mexican-style stuffed peppers alongside this bake.
Storage and Reheating Advice
Storing a taco casserole can be tricky because of the chips. If you anticipate leftovers, consider only topping the portion you intend to eat with the crushed chips. Store the beef and cheese base in an airtight container in the refrigerator for up to 3 days.
To reheat, place the base in the oven at 350°F (175°C) until the cheese is bubbling again, then add a fresh layer of crushed chips for the last 5 minutes. This ensures you never have to deal with a sad, soggy chip!
Frequently Asked Questions
Yes! You can prepare the seasoned beef and cheese layers in your baking dish up to 24 hours in advance. Keep it refrigerated, and simply add the fresh chips and bake when you are ready to serve.
Absolutely. Ground turkey or chicken works well. Since turkey is leaner, you may want to add a tablespoon of olive oil when browning to ensure you still get that savory sheen and prevent the meat from drying out.
To prevent sogginess, ensure you drain the excess fat from the beef and only add the crushed chips right before baking. Additionally, avoid adding wet toppings like sour cream or tomatoes until after the dish is out of the oven.
A walking taco is usually served in an individual chip bag for portability. This taco casserole uses the same iconic ingredients—taco meat, cheese, and chips—but transforms them into a cohesive, family-style baked meal.
A blend of sharp cheddar for flavor and Monterey Jack for meltability provides the best results. Always grate your own cheese from a block to avoid the anti-clumping agents in pre-shredded bags which can hinder a good cheese pull.
The Ultimate Walking Taco Casserole Recipe
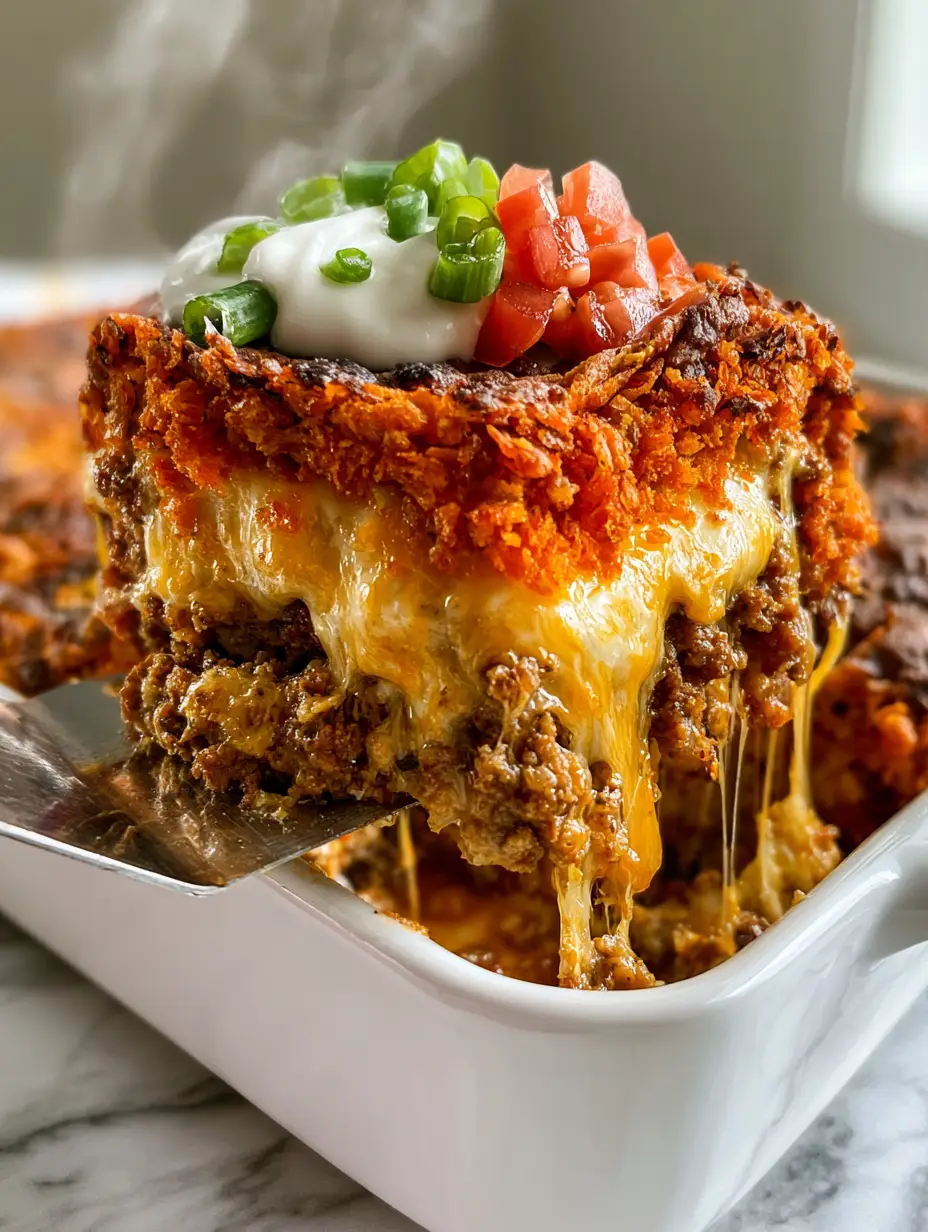
Taco Casserole: The Ultimate Cheesy Walking Taco Bake
Ingredients
Equipment
Method
- In a stainless steel skillet over medium-high heat, brown the 1.5 lbs (680g) ground beef crumbles until a deep golden-brown crust forms.
- Add taco seasoning and 1/4 cup (60ml) water. Simmer until water reduces and meat has an oily sheen.
- Spread beef into a white ceramic dish. Top with 1 cup (113g) each of Sharp Cheddar and Monterey Jack. Add a thick layer of crushed Nacho Cheese chips.
- Bake at 375°F (190°C) for 15-20 minutes until cheese is gooey and bubbling.
- Finish with a dollop of sour cream, diced tomatoes, sliced green scallions, and jalapeños. Serve immediately for maximum crunch.
Notes
If making ahead, keep chips separate until ready to bake to prevent sogginess.
Join the Culinary Conversation!
We hope this taco casserole becomes a new staple in your rotation of quick weeknight recipes. The combination of crunchy chips, savory beef, and molten cheese is a guaranteed crowd-pleaser that looks just as good as it tastes.
Did you make any swaps? Maybe you tried it with a spicy ranch drizzle or substituted the beef for a savory chicken tinga? We would love to hear your results! Leave a comment below, and don’t forget to share your photos on Pinterest by tagging kelly_bites_official.