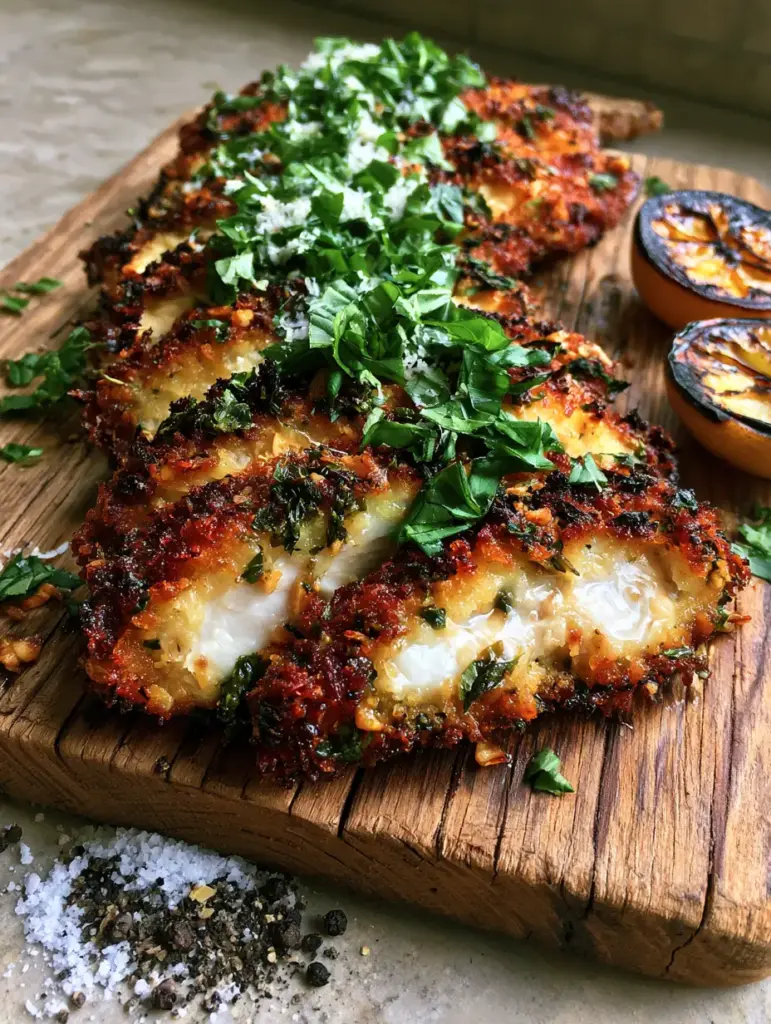
There is nothing quite like the sensory experience of slicing into perfectly executed Italian Basil Chicken Cutlets. As your knife breaks through the jagged, deep golden-brown panko crust, you are met with an audible crunch that gives way to glistening, succulent white meat. The steam rises from the rustic wooden board, carrying the intoxicating aroma of toasted garlic and fresh herbs.
These Italian Basil Chicken Cutlets aren’t just a meal; they are a masterclass in texture and flavor balance. We have meticulously designed this recipe to ensure every bite delivers a punch of umami from grated parmesan and the bright, peppery finish of fresh basil chiffonade. Whether you are hosting a Sunday dinner or looking for an elevated weeknight staple, this dish is the ultimate crowd-pleaser.
The visual appeal of this dish—with its vibrant green flecks of basil embedded in a mahogany crust and the rustic touch of charred lemon wedges—is designed to stop any scroll. By following our professional culinary techniques, you will achieve that “hero shot” quality in your own kitchen every single time.
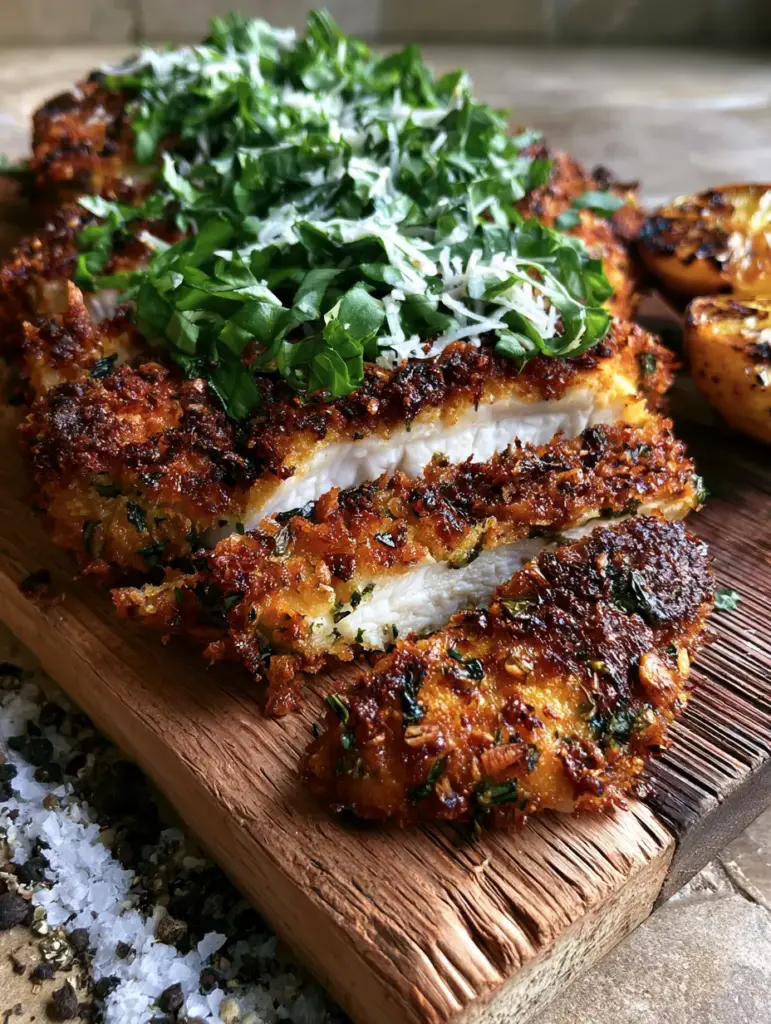
The Anatomy of the Perfect Golden-Brown Crust
- Unrivaled Texture: We utilize panko breadcrumbs specifically for their jagged surface area, which creates a crunch far superior to traditional Italian breadcrumbs.
- Double Infusion of Basil: By using dried basil in the breading and fresh chiffonade as a garnish, we ensure the herbal notes are both deeply cooked and brightly aromatic.
- The Umami Factor: Finely grated microplane parmesan cheese is integrated into the crust, creating a lacy, savory profile that browns beautifully.
- Searing Precision: Our technique focuses on achieving a deep golden-brown exterior while maintaining a juicy, steaming interior that stays tender.
- Citrus Contrast: The addition of charred lemon halves provides a caramelized acidity that cuts through the richness of the fried cutlet.
Essential Ingredients for Succulent Herb-Crusted Chicken
Chicken Breasts: 1.5 lbs (680g) of boneless, skinless breasts. We pound these to an even thickness to ensure the meat cooks at the same rate as the panko crust.
Panko Breadcrumbs: 2 cups (120g) of Japanese-style panko. These large, airy flakes are essential for the “shaggy” and extra-crispy exterior seen in our visual blueprint.
Fresh Basil: 1 large bunch (approx 30g). We use part for the internal flavor and the rest for a heavy scatter of fresh chiffonade to provide that bright green visual pop.
Parmesan Cheese: 1/2 cup (45g) finely grated via microplane. Using a microplane ensures the cheese is light enough to bond with the panko without becoming a heavy, greasy clump.
Toasted Garlic Granules: 1 tbsp (10g). Unlike fresh garlic which can burn in the frying pan, toasted granules provide a deep, nutty garlic flavor that withstands the heat.
All-Purpose Flour: 1/2 cup (65g). This acts as the primary “primer,” absorbing surface moisture from the chicken so the egg wash can adhere properly.
Large Eggs: 2 units (110g). These serve as the protein-rich “glue” that bridges the gap between the flour-dusted chicken and the heavy panko coating.
Dried Basil: 1 tsp (1g). Added directly to the panko mixture, these green flecks become visible in the final crust, indicating the flavor profile before the first bite.
Coarse Sea Salt & Cracked Black Pepper: For seasoning at every stage. The final dusting on the rustic board provides a crunch and a localized burst of seasoning.
Neutral Frying Oil: 1/2 cup (120ml) of avocado or grapeseed oil. A high smoke point is vital for achieving that deep mahogany color without the oil breaking down.
Lemon Halves: 2 units. Charring these in the pan transforms the juice from sharp and acidic to mellow, sweet, and smoky.
The Chef’s Tool Kit for Golden Results
To achieve the level of precision required for these Italian Basil Chicken Cutlets, you will need a few specific tools. A heavy-bottomed skillet, preferably cast iron or a high-quality stainless steel pan, is necessary for even heat distribution during the shallow fry.
A meat mallet is essential for pounding the chicken to a uniform 1/4-inch thickness, which prevents the exterior from burning before the interior is safe to eat. Finally, a microplane grater is the only way to achieve the “dusting” of parmesan cheese that completes the hero shot aesthetic.
Mastering the 3-Step Breading Station
Preparation and Pounding
Start by slicing your chicken breasts horizontally to create thinner cutlets. Place them between two sheets of plastic wrap and pound them gently but firmly to an even thickness. This ensures the chicken stays juicy and cooks in under 4 minutes per side.
The Dredging Process
Set up three wide, shallow bowls. In the first, whisk your flour with a pinch of salt. In the second, beat the eggs until no streaks remain. In the third, combine the panko, grated parmesan, dried basil, toasted garlic granules, and black pepper. Use your hands to toss the panko mixture so the garlic and herbs are evenly distributed.
The Coating Technique
Take a cutlet and coat it in the flour, shaking off any excess. Dip it into the egg wash, ensuring every centimeter is covered, then lay it into the panko. Press down firmly on the chicken to “embed” the panko flakes into the meat—this is the secret to a thick, jagged crust that doesn’t fall off.
Achieving the Ideal Pan-Sear and Char
The Sizzle Test
Heat your oil over medium-high heat until it shimmers. Drop a single panko flake into the oil; if it sizzles vigorously immediately, the pan is ready. Carefully lay the cutlets away from you into the pan to avoid splashes.
The Golden-Brown Window
Fry the cutlets for 3-4 minutes per side. Resist the urge to move them! They need uninterrupted contact with the heat to develop that deep golden-brown crust. Look for the edges of the chicken turning white and opaque before flipping.
Charring the Lemons
While the chicken is in its final minute of cooking, place the lemon halves cut-side down in the hot oil. Let them sear until the surface is blackened and caramelized. This not only looks beautiful on the rustic wooden board but also concentrates the lemon oils for a better finishing drizzle.
Pro-Tips for Breading That Actually Sticks
- Dry the Meat: Always pat your chicken dry with paper towels before the flour dredge. Moisture is the enemy of adhesion.
- The “Dry Hand, Wet Hand” Rule: Use one hand for the dry ingredients (flour and panko) and the other for the egg wash to prevent your fingers from becoming breaded cutlets themselves.
- Rest Before Frying: Let the breaded cutlets sit on a wire rack for 5 minutes before frying. This allows the flour and egg to hydrate, creating a stronger bond.
- Don’t Overcrowd: Fry in batches. Adding too much cold meat to the pan at once will drop the oil temperature, leading to a greasy, soggy crust.
Maintaining the Crunch: Storage and Reheating
While these Italian Basil Chicken Cutlets are best served immediately while steaming, you can store leftovers in an airtight container for up to 3 days. To maintain the integrity of the panko crust, avoid the microwave.
Instead, reheat the cutlets in a 375°F (190°C) oven or an air fryer for 5-7 minutes. This will re-crisp the panko and melt the parmesan bits without drying out the succulent white meat inside.
Perfect Pairings for an Italian Feast
These cutlets are incredibly versatile and serve as a fantastic protein base for various meals. For a classic comfort dinner, serve them alongside a bowl of caramelized onion pasta or a rich, creamy traditional carbonara.
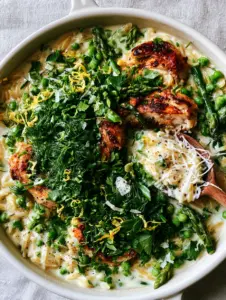
If you’re looking for something lighter, a side of spring herb orzo complements the fresh basil perfectly. For a rustic touch, serve the sliced cutlets over a rustic Italian vegetable bake to soak up all those delicious juices.
Frequently Asked Questions
You can, but you will lose the jagged, extra-crispy texture. Panko is larger and airier, which is what creates that signature crunch seen in the photos.
The chicken is safe to eat when it reaches an internal temperature of 165°F (74°C). Visually, the meat should be opaque and steaming, and the juices should run clear.
Use a neutral oil with a high smoke point, such as avocado oil, grapeseed oil, or canola oil. Avoid extra virgin olive oil for frying as it can burn and become bitter at high temperatures.
Dried basil withstands the high heat of frying and flavors the crust itself, while fresh basil chiffonade added at the end provides a bright, peppery aroma and beautiful color.
This usually happens if the chicken was too wet before dredging. Ensure you pat the meat completely dry with paper towels and let the breaded cutlets rest for 5 minutes before frying to set the coating.
The Ultimate Italian Basil Chicken Cutlets Recipe
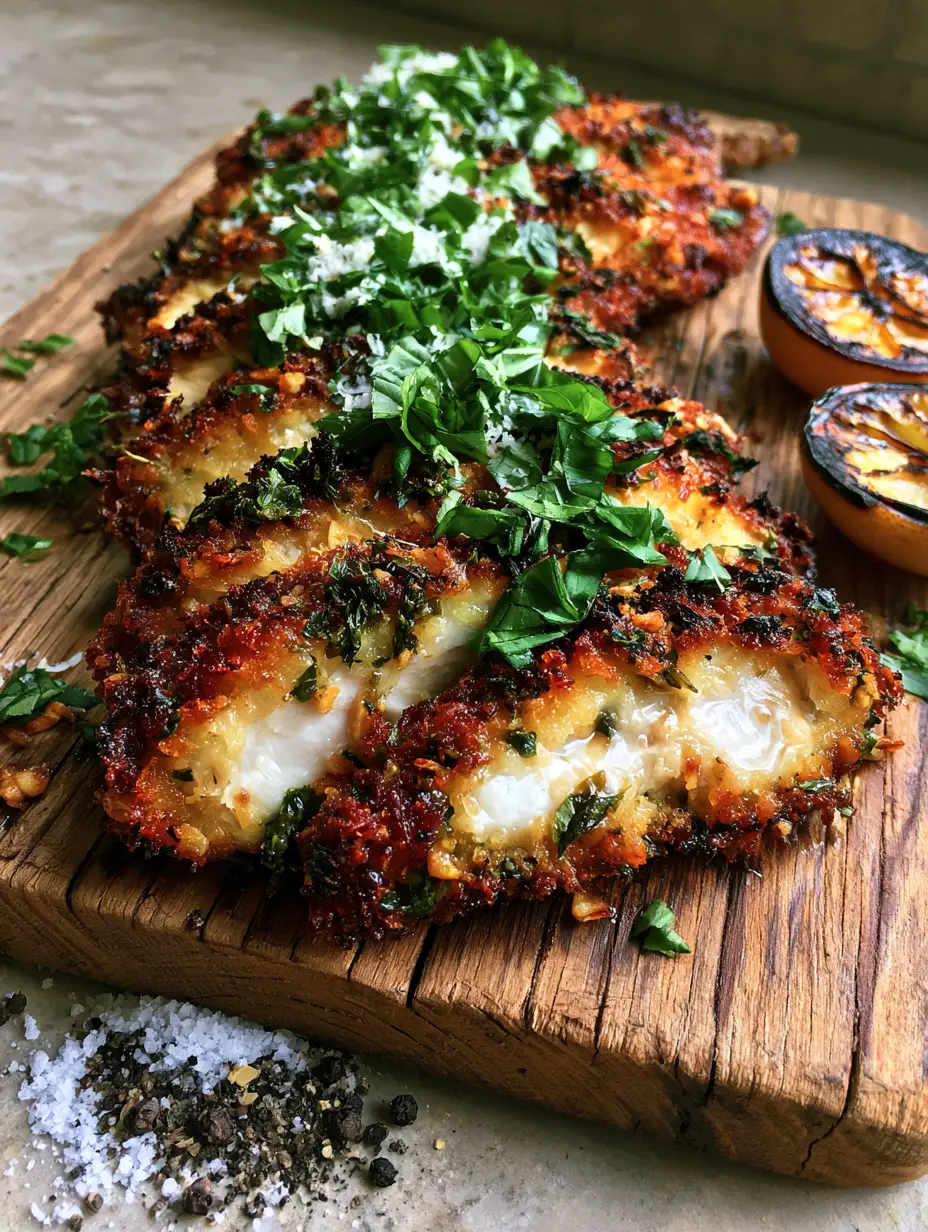
Italian Basil Chicken Cutlets with Extra Crispy Panko Crust
Ingredients
Equipment
Method
- Slice chicken breasts horizontally and pound to an even 1/4-inch thickness.
- Place flour in bowl one, beaten eggs in bowl two, and panko mixed with parmesan, garlic granules, and dried basil in bowl three.
- Dredge chicken in flour, dip in egg, and press firmly into panko mixture until fully coated.
- Heat oil in skillet. Fry cutlets for 3-4 minutes per side until deep golden-brown and internal temp reaches 165°F.
- Place lemon halves cut-side down in the pan during the last minute of frying until charred.
Notes
Always use a neutral oil with a high smoke point like avocado or grapeseed.
Closing & Call to Action
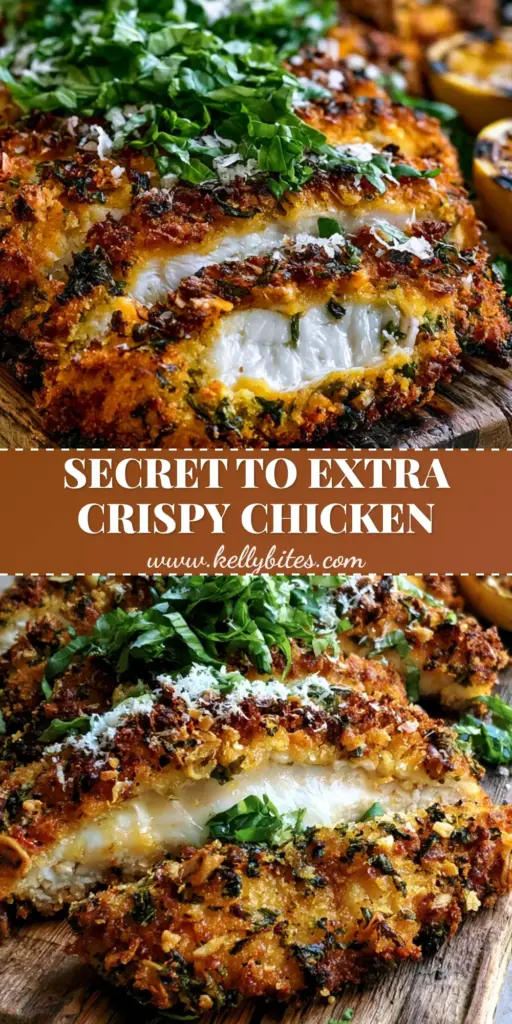
Mastering the art of the Italian Basil Chicken Cutlets is a milestone for any home cook. The combination of the herb-infused panko and the bright, citrusy finish creates a restaurant-quality experience right at your dining table. If you enjoyed this recipe, please leave a comment below and let us know how your crust turned out!
Don’t forget to follow us on Pinterest for more culinary inspiration. Pin this recipe to your “Dinner Ideas” board so you never lose the secret to the perfect golden-brown chicken cutlet.